How to Set Up OpenClaw in 2026: Complete Step-by-Step Guide
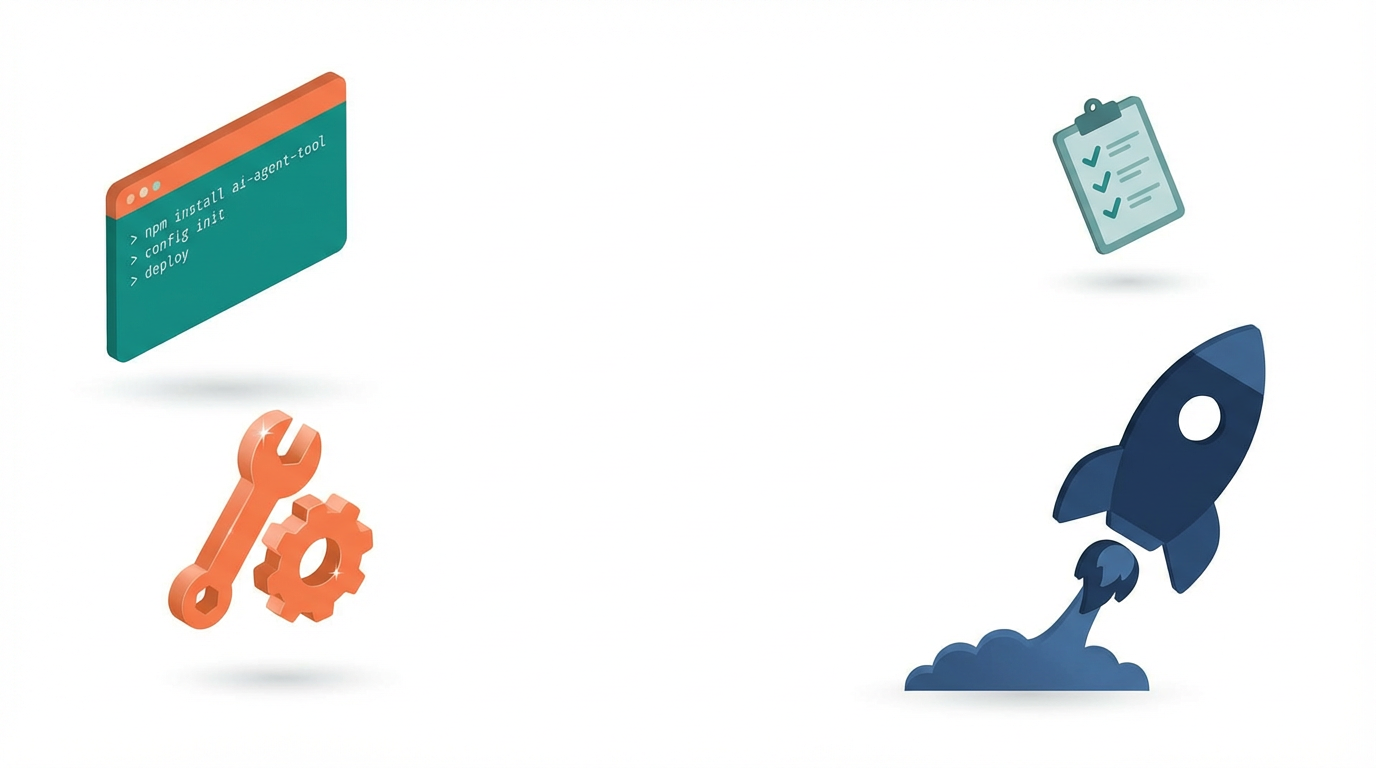
Setting up OpenClaw requires installing Node.js, running the OpenClaw installer, completing the onboarding wizard, configuring an AI model provider, and optionally connecting messaging channels like Telegram or Discord. The full process takes about 5 minutes for users comfortable with terminals, or up to 30 minutes if you are new to command-line tools. This guide covers every step from a fresh machine to a working OpenClaw agent.
Most people use AI through chat interfaces -- ChatGPT, Claude, Gemini. You type a question, you get an answer. But an AI agent is different. An agent does not just answer questions; it takes actions on your computer. It clicks buttons, fills forms, reads files, sends emails, and executes multi-step workflows autonomously.
The demand for this is growing fast. A 2025 Gartner forecast projected that by 2028, 33% of enterprise software applications will include agentic AI. And developers are not waiting -- tools like OpenClaw have attracted hundreds of thousands of GitHub stars because they let anyone build and run their own AI agent without relying on a paid SaaS platform.
There are three main reasons people set up their own agents:
Cost control. Managed AI agent platforms charge monthly subscriptions. With an open-source tool like OpenClaw, you only pay for the underlying model API calls (typically $5-20/month for moderate usage with Anthropic or OpenAI).
Customizability. OpenClaw uses a plugin and skill system that lets you build custom automations. You can modify the agent's behavior, add new capabilities, and integrate with any tool that has an API.
Data privacy. When you self-host, your prompts and data stay on your machine. No third-party platform sees your queries. For teams handling sensitive data, this is a hard requirement.
What Is OpenClaw?
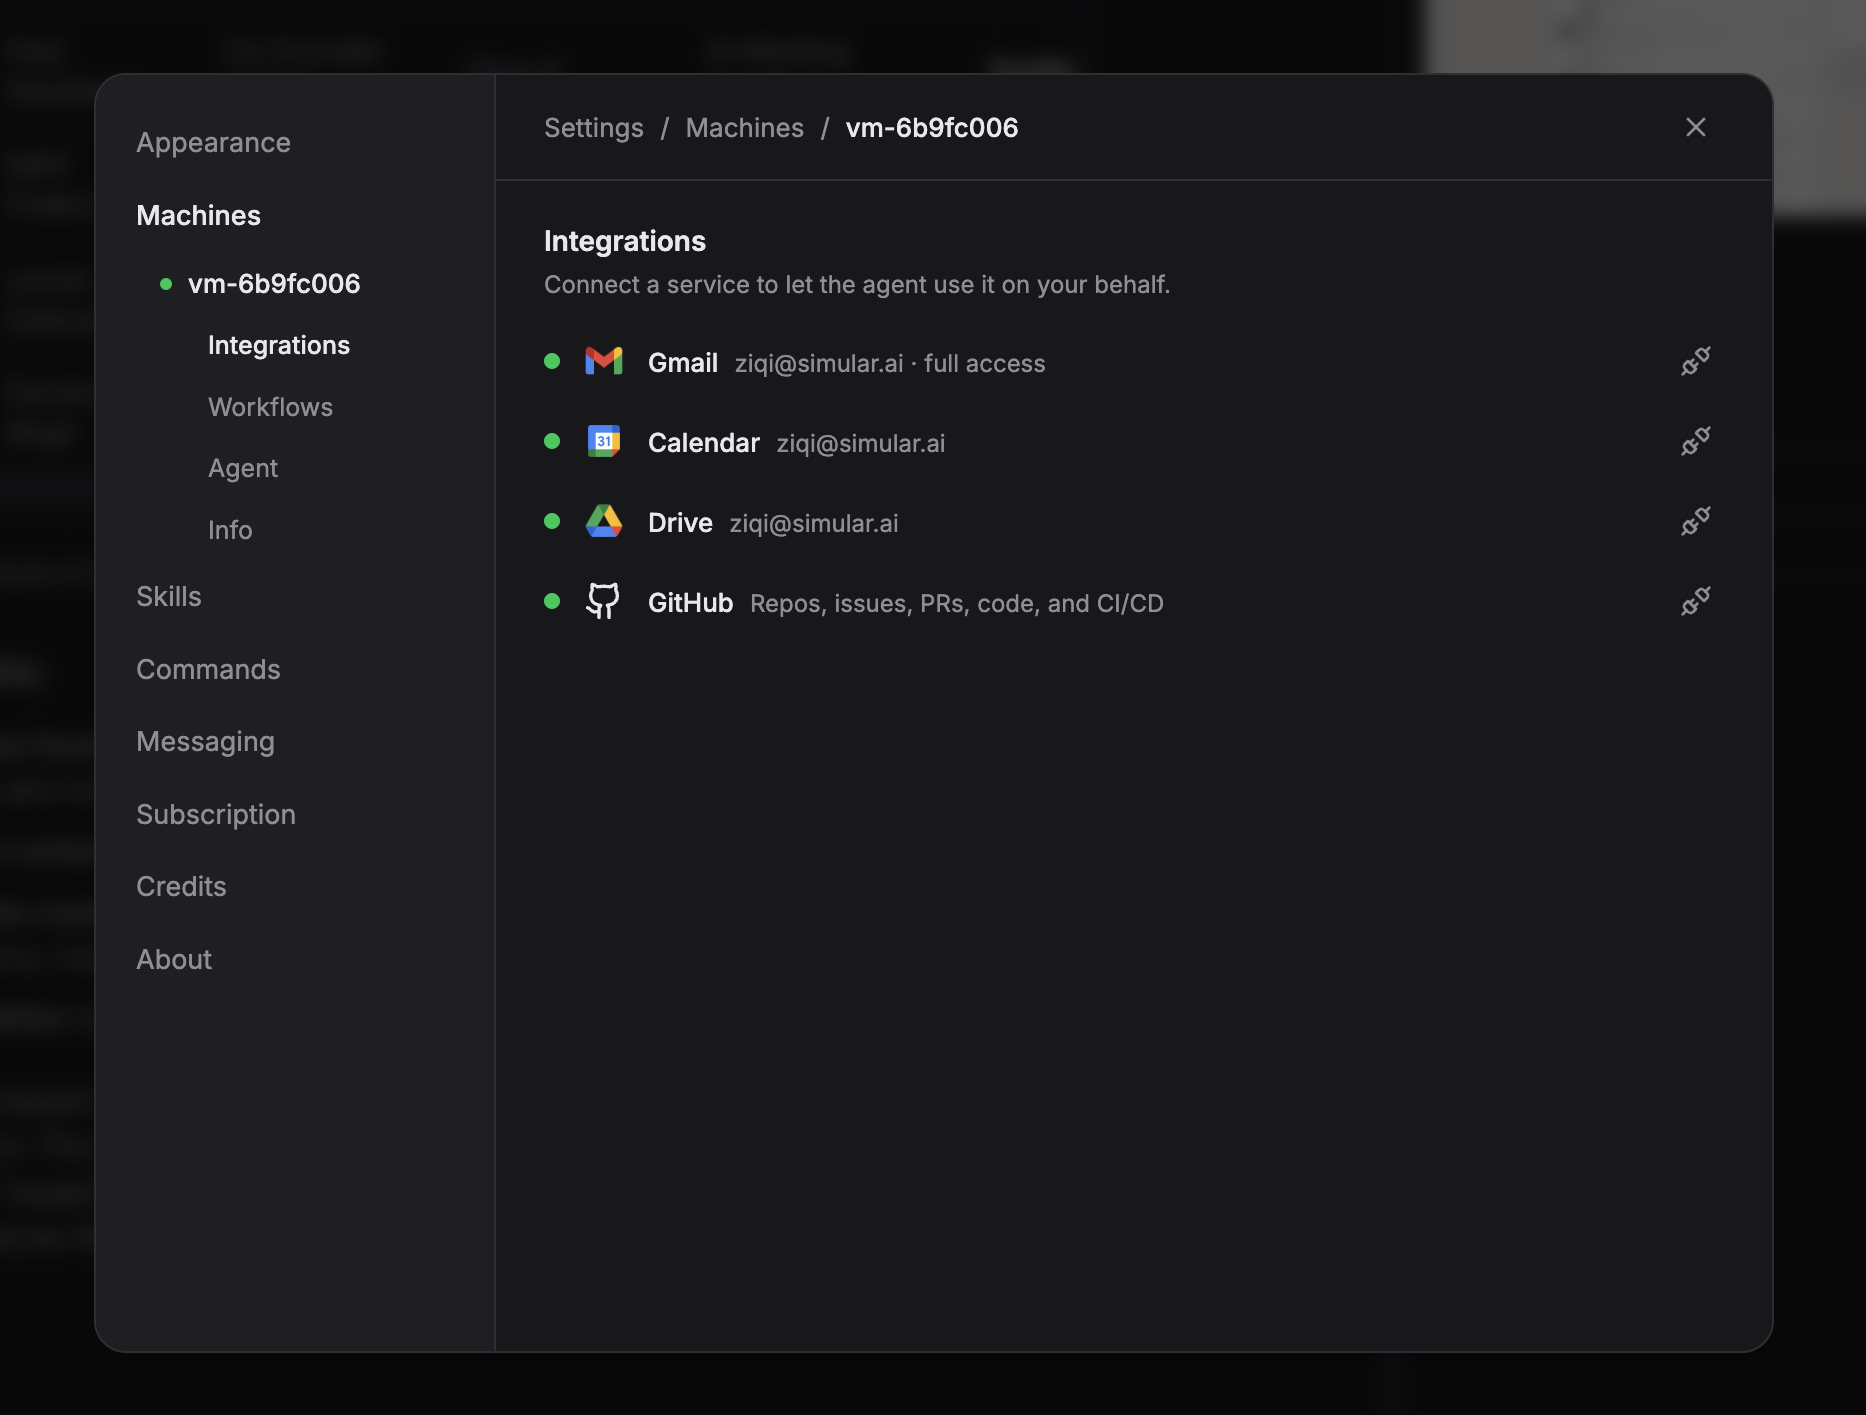
OpenClaw is an open-source AI agent frameworkthat turns large language models into autonomous computer-use agents. It connects to model providers like Anthropic (Claude), OpenAI (GPT), and Google (Gemini) through their APIs, then extends those models with the ability to take actions -- browsing the web, executing shell commands, reading and writing files, and controlling desktop applications.
License: MIT (fully open source, free to use commercially)
Runtime: Node.js 22.14+ (Node 24 recommended)
GitHub stars: 361K+ (as of April 2026)
Architecture: Gateway service running on port 18789 + CLI or dashboard UI for interaction
Model support: Anthropic Claude, OpenAI GPT, Google Gemini, and local models via Ollama
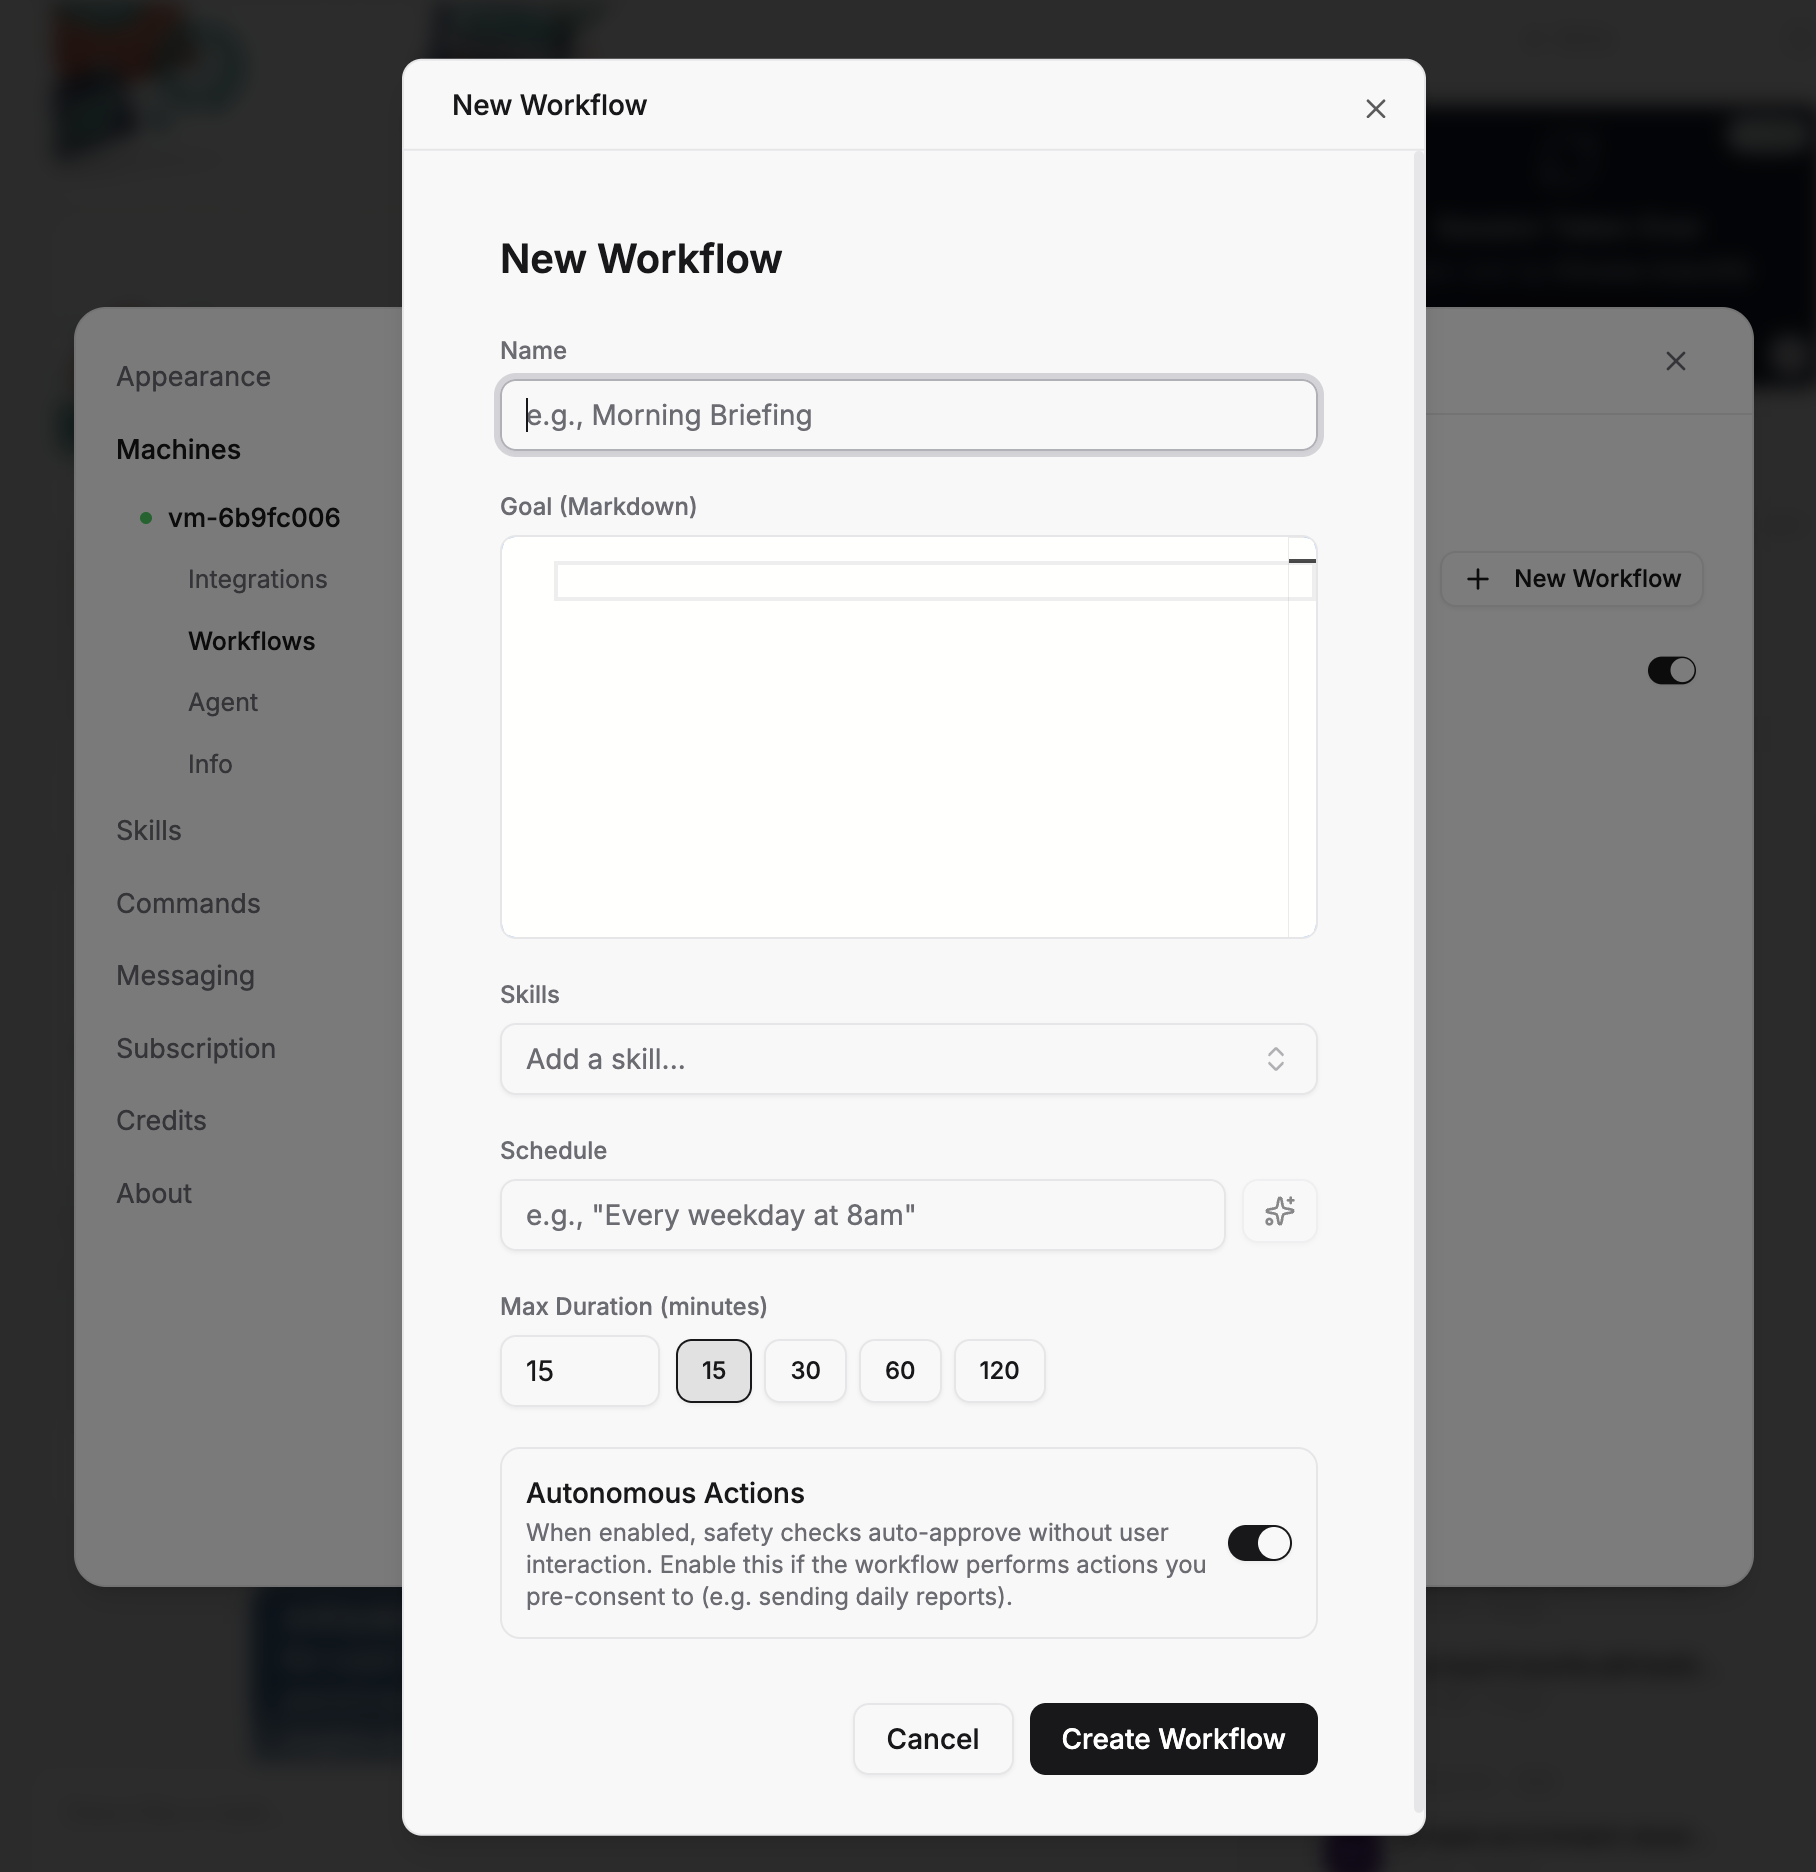
Messaging integrations: Telegram, Discord, WhatsApp, and Slack channels (source)
OpenClaw is not a model itself -- it is the framework that sits between you and the model. You bring your own API key, and OpenClaw provides the scaffolding that turns a language model into an agent that can actually do things on your computer.
Why Should You Set Up OpenClaw?
OpenClaw is the right choice if you meet all three of these criteria:
You are comfortable with a terminal. The setup process involves running CLI commands, editing JSON configuration files, and potentially managing a background service. If you have never used a terminal, expect a learning curve.
You want maximum control over your agent. OpenClaw gives you access to the full source code, plugin system, and configuration. You can modify anything. If you just want an agent that works out of the box, a managed platform is a better fit.
You understand the security tradeoffs. OpenClaw runs with full local access to your machine. There is no built-in approval system for dangerous actions -- the agent can read, write, and delete any file your user account can access. The security model relies on application-level checks within a shared memory process, not OS-level isolation.
Who should NOT use OpenClaw:
Non-technical users who do not want to manage prerequisites, configuration files, or server deployments
Anyone handling sensitive data who needs OS-level isolation or a human-in-the-loop approval system before the agent executes destructive actions
Teams that need 24/7 availability without managing their own infrastructure -- OpenClaw requires you to host and maintain the Gateway service yourself
If any of these describe you, skip to the "How to Use Sai for This" section at the end for a zero-setup alternative.
How to Set Up OpenClaw: Step-by-Step
Step 1: Install Prerequisites
You need Node.js 22.14 or higher (Node 24 recommended) and an API key from a model provider.
Check your Node.js version:
node --version
If you do not have Node.js or your version is too old, install it from nodejs.org or use a version manager:
To keep your agent always available, run the Gateway on a VPS (DigitalOcean, Hetzner, or AWS Lightsail -- $5-10/month for a basic server).
openclaw gateway status    # Check if running
openclaw gateway start     # Start the service
openclaw gateway stop      # Stop the service
openclaw gateway restart   # Restart after config changes
On your personal machine, the Gateway stops when you shut down your computer.
OpenClaw Setup vs. Alternatives: How Do They Compare?
If you want an AI agent that controls your desktop and browser without any terminal setup, server management, or API key configuration,Sai by Simular is a managed alternative that works out of the box.
Zero setup required -- download the desktop app, sign in, and start automating tasks in under 2 minutes. No Node.js, no API keys, no configuration files (source)
Built-in security -- every potentially destructive action (sending emails, deleting files, submitting forms) requires your explicit approval before Sai executes it, with cloud VM isolation separating the agent from your local machine (source)
Desktop + browser + integrations included -- Sai controls native apps and browser tabs, connects to Gmail, Google Calendar, Google Sheets, and GitHub natively, and supports scheduled workflows -- all for 7 days free trail with no per-API-call charges
Stop doing repetitive tasks. Let Sai handle them for you.
Sai is your AI computer use agent — it operates your apps, automates your workflows, and gets work done while you focus on what matters.


.svg)

.svg)