How to Schedule an Email in Outlook: Step-by-Step + Smarter Workflow Automation
Need to schedule emails in Outlook? Learn how to send emails later with step-by-step instructions—and discover how AI can automate follow-ups and workflows beyond basic scheduling.
Why Does Scheduling Emails in Outlook Matter for Daily Workflows?
Operates within a secure workspace, ensuring safe handling of communication tasks
Runs workflows in the background, enabling always-on email management without interruption
Provides transparent, approval-based execution, so you stay in control while automating repetitive steps
Why Does Scheduling Emails in Outlook Matter for Daily Workflows?
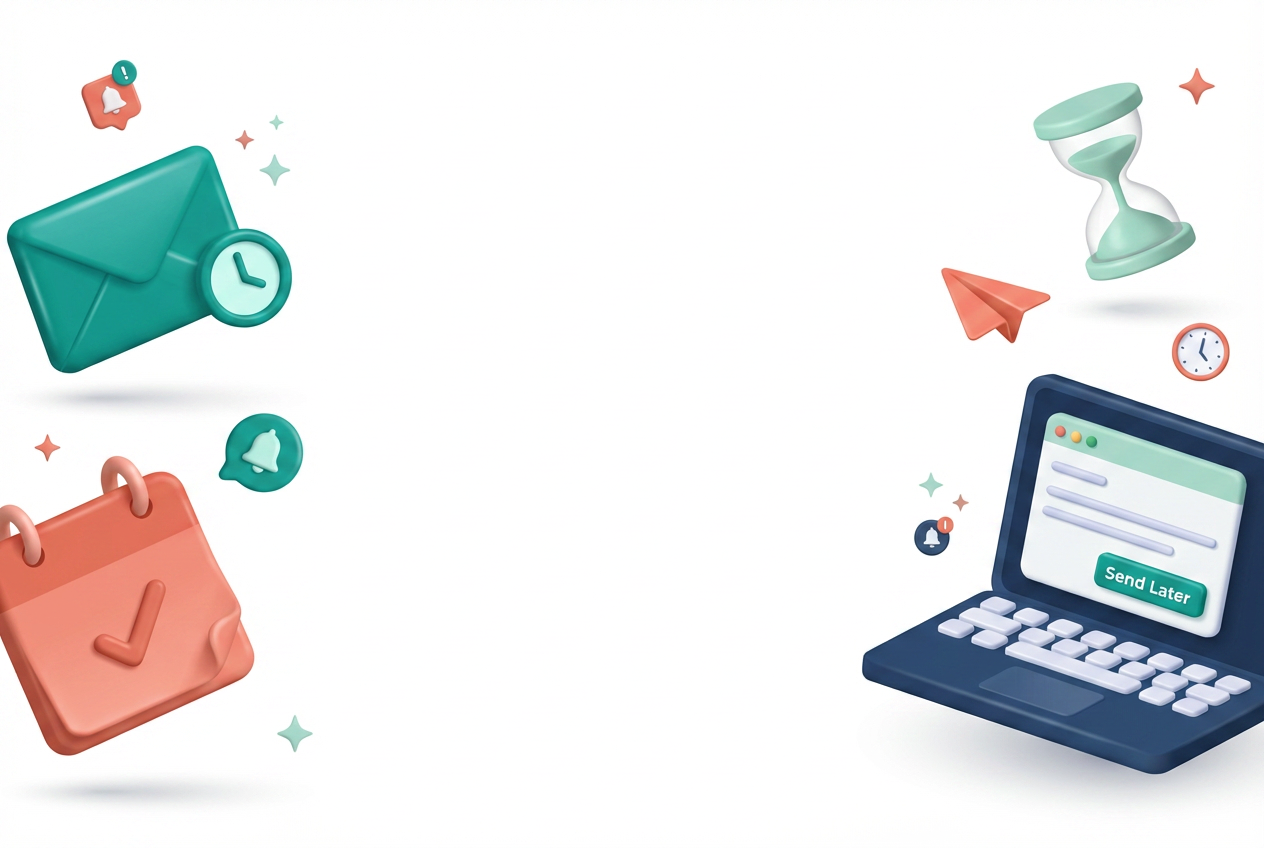
Scheduling an email in Outlook lets you write a message now and have it delivered automatically at a specific date and time. This is useful when you want to reach someone during their business hours in a different time zone, send a Monday morning update without working on Monday, or time a follow-up so it arrives exactly three days after your last email.
The process differs slightly between Outlook on the web (Office 365), the classic Outlook desktop app (Windows), the new Outlook for Windows, and Outlook on Mac. This guide covers every version with exact steps, plus strategies for choosing the best send time and automating recurring scheduled emails.
TL;DR: In Outlook on the web, click the dropdown arrow next to the Send button and select "Schedule send." In the Outlook desktop app for Windows, go to Options → Delay Delivery → set your date and time → close the dialog → click Send. On Mac, click the dropdown arrow next to Send and choose "Send Later." For automated scheduling where you never touch Outlook at all, an AI agent like Sai can compose and schedule emails from plain-language instructions.
Comparison: Scheduling Behavior Across Outlook Versions
Outlook Version
Feature Name
Server-side?
Works Offline?
Stored In
Cancel Method
Outlook Web (365)
Schedule Send
✅ Yes
✅ Sends even if PC off
Drafts
Open draft → Cancel send
Classic Desktop (Win)
Delay Delivery
❌ No
❌ Outlook must be open
Outbox
Open Outbox → uncheck delay
New Outlook (Win)
Schedule Send
✅ Yes
✅ Sends even if PC off
Drafts
Open draft → Cancel send
Outlook for Mac
Send Later
✅ Yes (365/Exchange)
✅ With 365 account
Drafts
Open draft → Cancel send
Outlook Mobile
Schedule Send
✅ Yes
✅ Sends even if phone off
Drafts
Open draft → Cancel send
Sai (AI Agent)
Natural language
✅ Yes
✅ Cloud-based
Managed by Sai
Tell Sai to cancel
When Is the Best Time to Schedule an Email?
Scheduling an email is only useful if you send it at a time when the recipient is likely to read it. Research on email open rates provides clear guidance:
For business emails (B2B):
Best days: Tuesday, Wednesday, Thursday
Best times: 9:00 AM – 11:00 AM in the recipient's time zone
Avoid: Monday mornings (inbox overload from the weekend) and Friday afternoons (people check out early)
For sales outreach and cold emails:
Best times: 8:00 AM – 9:00 AM (catches people during morning inbox review) or 1:00 PM – 2:00 PM (post-lunch check)
Best day: Tuesday consistently outperforms other weekdays in open rate studies
For internal team updates:
Weekly summaries: Schedule for Monday at 9:00 AM so the team sees it first thing
End-of-week reports: Friday at 2:00 PM before people wrap up
For international teams:
Schedule based on the recipient's time zone, not yours
If your team spans multiple time zones, 10:00 AM ET / 3:00 PM GMT / 11:30 PM IST hits a reasonable window for US-Europe-India teams
Pro tip: If you regularly email someone in a different time zone, create a contact group with a note about their office hours. This prevents accidentally scheduling a 3:00 AM delivery.
Why Should You Schedule Emails in Outlook?
1. Send Emails at the Right Time for Better Response Rates
Timing plays a major role in whether an email gets opened or ignored.
By scheduling emails:
You can align with recipients’ working hours
Avoid sending messages late at night
Optimize for peak engagement windows
This is especially useful for global teams and B2B communication.
2. Stay Organized and Work Ahead
Scheduling allows you to:
Write emails in advance
Batch communication tasks
Reduce last-minute work
Instead of reacting in real time, you can proactively manage your communication schedule.
Sai can support this by helping draft emails in advance and organizing them into structured workflows, acting as an ai assistant that reduces the friction of writing and planning.
3. Maintain Consistency in Professional Communication
In many roles, consistency matters:
Regular updates
Follow-up emails
Scheduled reminders
Manual sending often leads to missed or delayed messages.
With automation support, you can ensure that communication happens consistently without relying on memory or manual tracking.
4. Go Beyond Basic Scheduling with Workflow Automation
Outlook’s scheduling feature is limited:
It sends the email at a set time
It does not manage what happens next
In real workflows, you often need:
Follow-ups if no reply
Adjustments based on responses
Tracking across multiple emails
Sai extends this by functioning as an agentic AI assistant that can help manage multi-step communication workflows—not just one scheduled email.
5. Reduce Manual Coordination Across Tools
Email workflows often involve:
Drafting in documents
Copying into Outlook
Tracking responses elsewhere
This fragmentation slows down execution.
As a desktop AI assistant, Sai can operate across tools—helping you draft, schedule, and manage emails without constant context switching.
How to Schedule an Email in Outlook (Step-by-Step)
How to Schedule an Email in Outlook on the Web (Microsoft 365)
This is the most common version of Outlook in 2026. If you access Outlook through a browser at outlook.office.com or outlook.live.com, follow these steps:
Open Outlook in your browser and click New mail (or press N).
Compose your email — fill in the To, Subject, and body fields as usual.
Click the dropdown arrow (▼) next to the Send button. It is a small arrow on the right side of the blue Send button.
Select "Schedule send" from the dropdown menu.
Choose a suggested time (Outlook offers "Tomorrow morning" and "Tomorrow afternoon" as quick picks) or click "Custom time" to set an exact date and time.
Click Send. The email moves to your Drafts folder (labeled "Scheduled") and will be sent automatically at the time you selected.
To edit or cancel a scheduled email: Go to your Drafts folder, find the scheduled message (it will have a clock icon), open it, and either edit the content, change the scheduled time, or click the Cancel send button to move it back to a regular draft.
Important: Your computer does not need to be turned on at the scheduled time. Outlook on the web handles scheduling server-side, so the email sends even if your laptop is off or you are not logged in.
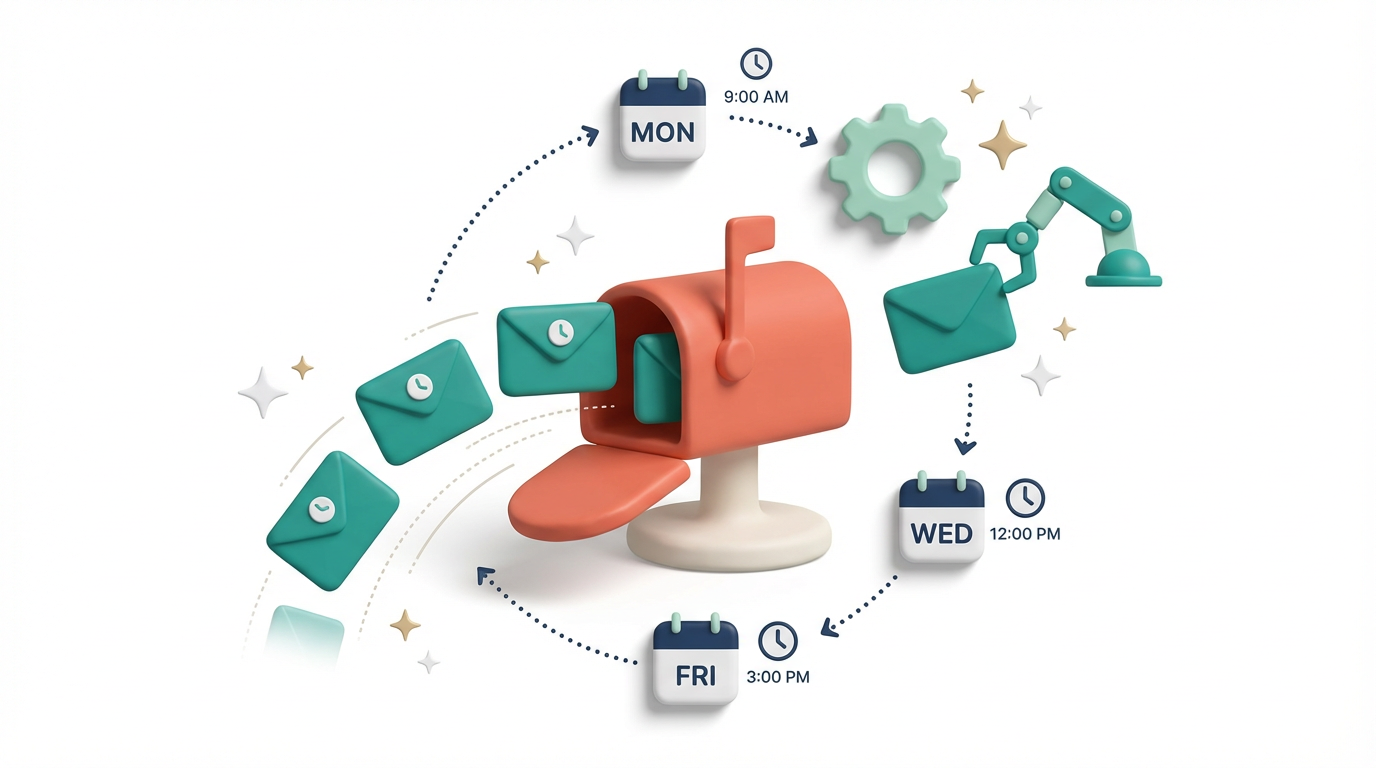
How to Schedule Recurring Emails in Outlook
Outlook does not have a built-in "send this email every Monday" feature. To send recurring scheduled emails, you have three options:
Option 1: Fully Automated Email Scheduling with Sai
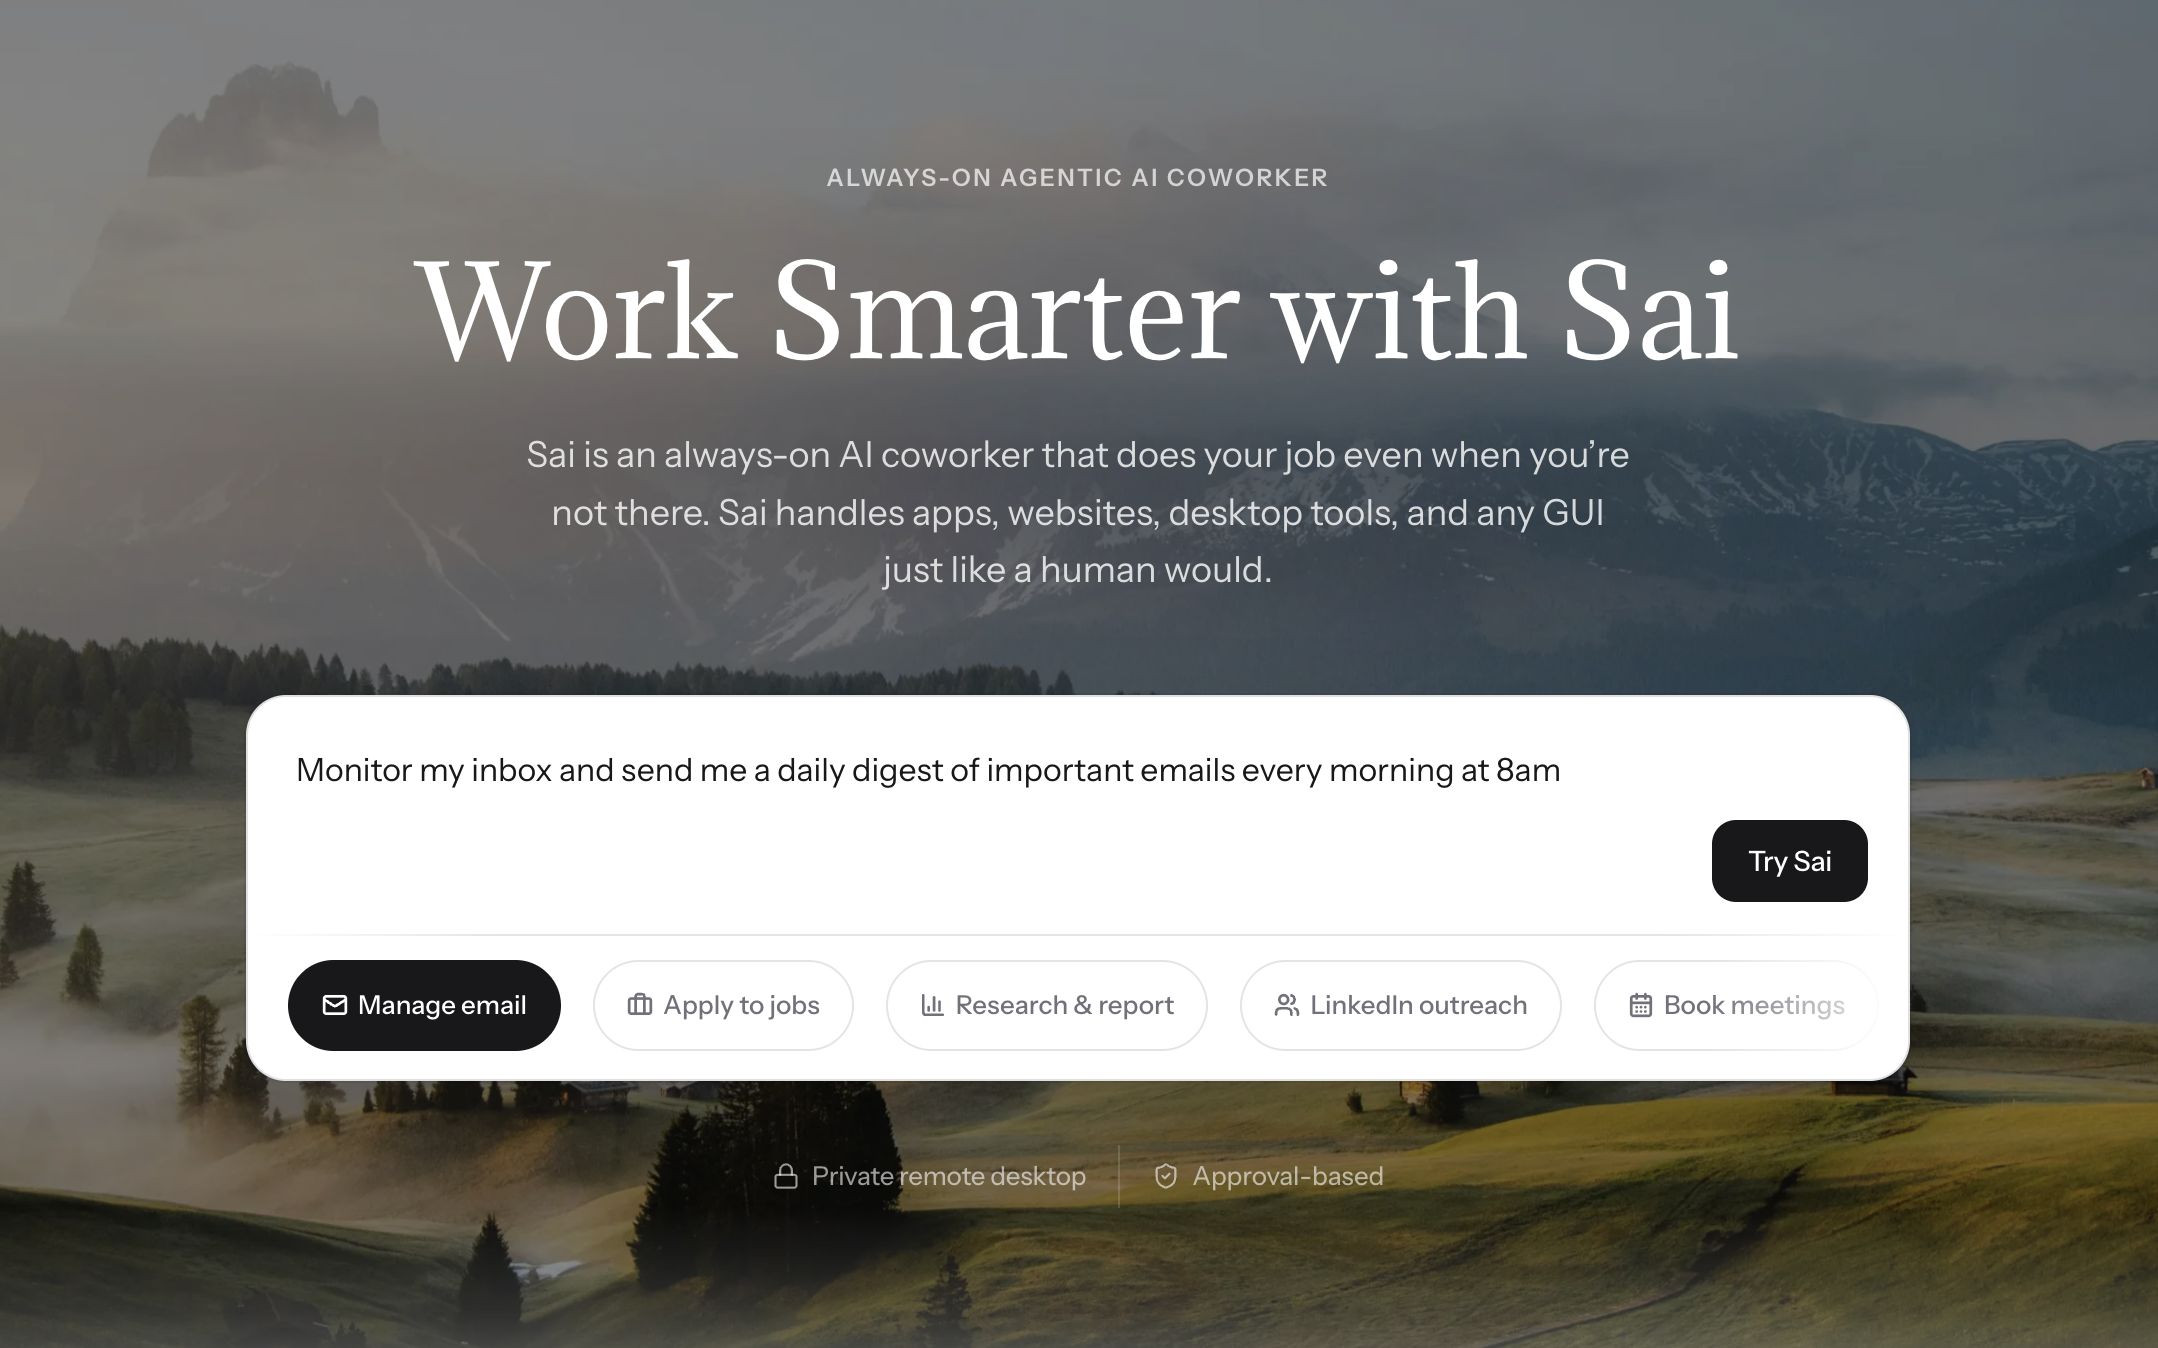
If Power Automate feels too technical and Quick Steps are too manual, Sai offers a third path: tell it what you want in plain language, and it handles everything — composing, scheduling, recurring sends, and even conditional follow-ups.
Sai is an AI workforce agent that connects to your Outlook or Gmail account through official APIs (OAuth-secured, no password sharing). Once connected, it can read, compose, schedule, and send emails on your behalf, all triggered by natural language instructions.
How Sai's email scheduling works:
Connect your email. In Sai's Workspace, grant access to your Gmail or Outlook account. This takes about 30 seconds — Sai uses the same OAuth flow you see when connecting apps to Google or Microsoft.
Describe what you want. Tell Sai your scheduling intent in plain language:
"Send a project status update to the engineering team every Monday at 9 AM Pacific"
"Email the weekly sales report to sarah@company.com every Friday at 4 PM, include data from our Google Sheet"
"Follow up with anyone who hasn't replied to my initial outreach within 3 business days"
Sai creates a Workflow. Behind the scenes, Sai converts your instruction into an automated workflow — a scheduled task that runs on a cron schedule (like "every Monday at 9:00 AM") or triggers based on events (like "when a new row is added to a spreadsheet"). You can review the workflow before activating it.
Emails send automatically. Once activated, the workflow runs in Sai's secure cloud Workspace. Your computer does not need to be on. Each execution is logged so you can review what was sent and when.
What makes Sai different from Power Automate:
No flow-building required. Power Automate requires you to connect blocks, configure triggers, and debug connector errors. Sai understands natural language instructions directly.
Dynamic content without formulas. Need to pull data from a Google Sheet, summarize it, and include it in the email body? Tell Sai in one sentence. In Power Automate, this requires multiple connector blocks and expression syntax.
Built-in Skills for complex tasks. Sai comes with pre-built Skills — specialized capabilities that handle specific workflows. For email automation, relevant Skills include:
Gmail/Outlook integration: Read inbox, compose drafts, send messages, manage labels, and schedule sends through Google and Microsoft APIs
Google Sheets integration: Pull live data from spreadsheets to include in email bodies (perfect for weekly reports, KPI updates, and pipeline summaries)
Google Calendar integration: Check calendar availability before scheduling meeting-related emails, or trigger emails based on upcoming events
Cross-platform workflow orchestration: Combine email with other actions — for example, "After sending the Monday update, also post a summary to our Slack channel and update the project tracker"
Conditional logic in plain English. Instead of building branching flows with IF/ELSE blocks, tell Sai: "Only send the follow-up if they haven't replied. If they replied but didn't confirm, send a different version asking for confirmation." Sai interprets the conditions and executes accordingly.
Real-world Sai email scheduling examples:
Scenario 1: Weekly team digest
"Every Monday at 8:30 AM, pull the top 5 items from our project tracker Google Sheet, summarize them into a brief email, and send to the engineering distribution list."
Sai reads the Sheet, formats the data into a clean email, and sends it — every week, automatically.
Scenario 2: Time-zone-aware client follow-ups
"I just sent proposals to 8 clients in different time zones. Follow up with each one 3 business days after my initial email, at 9 AM in their local time zone. If they reply before the follow-up, skip it."
Sai tracks each thread, calculates the 3-business-day window per time zone, checks for replies, and only sends follow-ups where needed.
Scenario 3: Event-triggered notifications
"When a new lead fills out our contact form (tracked in Google Sheets), send them a personalized welcome email within 5 minutes, then schedule a follow-up for 2 days later."
Sai monitors the Sheet for new rows, composes a personalized email using the lead's name and company, sends it immediately, and queues the follow-up.
Scenario 4: End-of-month reporting
"On the last business day of each month, compile our sales numbers from the CRM spreadsheet, create a formatted summary email with a comparison table, and send it to the executive team."
Sai handles the date calculation (last business day, accounting for weekends and holidays), data extraction, formatting, and delivery.
Option 2: Power Automate (Microsoft's Built-in Automation)
Power Automate (formerly Microsoft Flow) is included with Microsoft 365 subscriptions and integrates natively with Outlook.
Go to flow.microsoft.com.
Click Create → Scheduled cloud flow.
Set your recurrence (every Monday at 9:00 AM, first of each month, etc.).
Add the action "Send an email (V2)" from the Outlook connector.
Fill in the recipient, subject, and body.
Save and turn on the flow.
Limitations: The email body is static unless you connect dynamic content (like pulling data from a SharePoint list or Excel file). Building complex templates requires some flow-building knowledge.
Create a Quick Step that pre-fills a template email, then manually trigger it on your schedule. This is semi-automated — you still click a button, but the email is pre-composed.
Home tab → Quick Steps → Create New.
Choose "New Message" as the action.
Pre-fill To, Subject, and body fields.
Save. Now clicking this Quick Step creates the pre-filled email instantly — you just click Send.
Stop doing repetitive tasks. Let Sai handle them for you.
Sai is your AI computer use agent — it operates your apps, automates your workflows, and gets work done while you focus on what matters.


.svg)

.svg)