How to Edit a Video 10x Faster: A Complete Beginner's Guide for 2026
Learn how to edit a video 10x faster using a fully automated AI workflow. From raw clips to polished videos, discover how Sai handles editing, cutting, and exporting—no skills required.
Why Does How to Edit a Video Matter for Modern Creators and Marketers?
Sai enables reusable video editing “skills” that replicate styles, templates, and viral formats automatically
Sai operates across desktop apps and editing tools to execute cutting, sequencing, and exporting workflows end-to-end
Sai runs video editing workflows in a secure environment with background execution, allowing continuous content production without manual effort
Why Does How to Edit a Video Matter for Modern Creators and Marketers?
Learning how to edit a video is no longer just a technical skill—it’s a core growth lever for creators, marketers, and solopreneurs. The faster you can turn ideas into videos, the faster you can test, iterate, and scale content.
But most people are still stuck in slow, manual editing workflows.
TL;DR
Learning how to edit a video efficiently directly impacts content output and growth speed
Most editing time is wasted on repetitive actions like cutting, arranging, and exporting
Sai can execute video editing workflows across desktop apps and tools automatically
Sai handles repetitive editing tasks (clip trimming, sequencing, formatting) without manual effort
You can run editing workflows in the background while focusing on content strategy
Approval-based control ensures you stay in control while automating execution
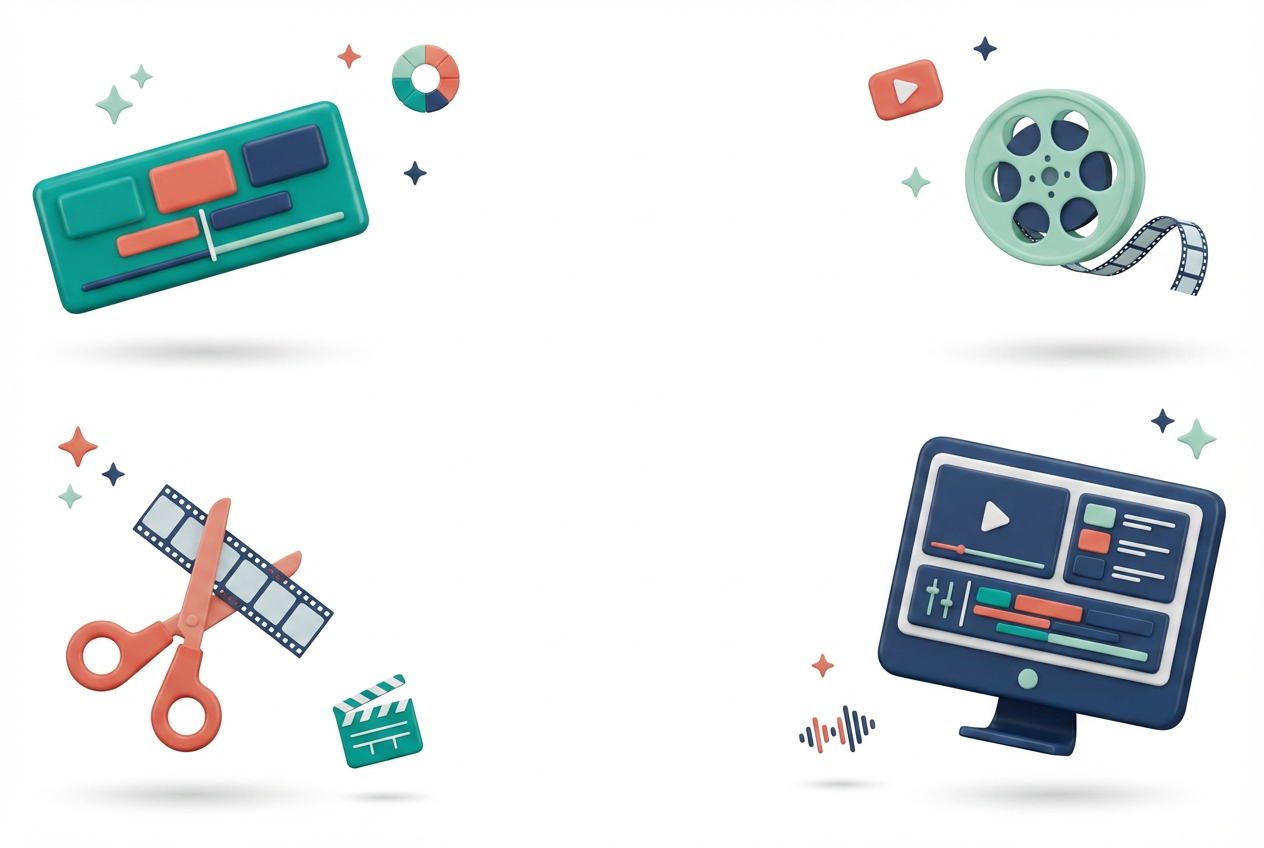
What is Video Editing?
Editing a video does not require expensive software or years of experience. Whether you recorded a presentation on Zoom, shot a product demo on your phone, or need to turn raw footage into a polished social media clip, you can learn the fundamentals of video editing in about 30 minutes and produce professional-looking results within an hour.
This guide walks you through the entire video editing process from start to finish. We cover what software to use, how to perform the six essential edits every video needs, and how AI tools can now automate most of the tedious work for you.
TL;DR: For quick edits (trimming, captions, simple cuts), use CapCut or Clipchamp — they are free and run in your browser. For professional work, use DaVinci Resolve (free) or Adobe Premiere Pro (paid). For fully automated editing where you skip the learning curve entirely, use an AI agent like Sai that edits videos based on your plain-language instructions.
What Software Should You Use to Edit Videos?
The best video editing software depends on your skill level, operating system, and budget. Here is a breakdown of the most popular options in 2026:
Software
Best For
Cost
Platform
Difficulty
AI Features
CapCut
Social media clips, TikTok, Reels
Free / $7.99/mo Pro
Web, Desktop, Mobile
⭐
✅ Auto-captions, AI effects
Clipchamp (Microsoft)
Quick edits, Windows users
Free / $11.99/mo
Web, Windows
⭐
✅ Auto-compose, text-to-speech
DaVinci Resolve
Professional editing + color grading
Free / $295 Studio
Windows, Mac, Linux
⭐⭐⭐
✅ AI face detection, magic mask
Adobe Premiere Pro
Industry standard, teams
$22.99/mo
Windows, Mac
⭐⭐⭐
✅ AI scene edit, auto-remix
iMovie
Apple users, simple projects
Free
Mac, iPhone, iPad
⭐
❌ Limited
Final Cut Pro
Mac professionals, YouTubers
$299.99 one-time
Mac, iPad
⭐⭐
✅ Object tracking, scene removal
Sai (AI Agent)
Automated editing from text commands
$20/mo
Web (cloud Workspace)
⭐
✅ Fully AI-driven
The 6 Essential Video Editing Steps (Beginner Workflow)
Every video edit, regardless of software, follows the same six-step process. Master these fundamentals and you can edit in any application.
Step 1: Import Your Footage
Open your editing software and create a new project. Import your video files by dragging them into the media library or using File → Import. Most editors accept MP4, MOV, AVI, and MKV formats.
Pro tip: Organize your files before importing. Create folders for video clips, audio, images, and graphics. A 10-minute organization session saves hours of searching later.
Step 2: Arrange Clips on the Timeline
Drag your clips from the media library onto the timeline in the order you want them to appear. The timeline is the core workspace where you assemble your edit.
Key timeline concepts:
Video tracks (top): Stacked layers for overlays, titles, effects
Playhead: The vertical line showing your current position
In/Out points: Mark where clips start and end
Step 3: Trim and Cut
This is where you remove the parts you do not want. Every raw recording has dead air, false starts, and filler that needs to be cut.
Three cutting techniques:
Trim: Shorten a clip by dragging its edges inward. The fastest method for removing beginnings and endings.
Split/Razor Cut: Place the playhead where you want to cut, then split the clip into two pieces. Delete the unwanted half. Use this for removing sections from the middle of a clip.
Ripple Delete: Delete a clip and automatically close the gap. This prevents empty spaces in your timeline.
How much should you cut? A general rule: for talking-head videos, remove all pauses longer than 0.8 seconds, all "um" and "uh" fillers, and any repeated takes. A typical 20-minute raw recording becomes 12-14 minutes after trimming.
Step 4: Add Transitions, Text, and Graphics
Once your cuts are clean, enhance the video:
Transitions connect two clips smoothly. The safest choices are:
Hard cut (no transition): Professional, clean, works 90% of the time
Cross-dissolve: Smooth blend between scenes, signals a time change
Fade to black: Signals a section ending
Avoid star wipes, page turns, and 3D spins. These look amateurish in professional contexts.
Text and titles:
Lower thirds (name/title bars in the bottom third of the screen)
Bad audio ruins good video faster than anything else. A viewer will watch blurry video with clear audio, but nobody watches clear video with muffled or echoey audio.
Essential audio edits:
Normalize volume: Make sure your audio levels are consistent. Target -6 dB to -12 dB for dialogue.
Remove background noise: Most editors have noise reduction tools. In DaVinci Resolve, use the Fairlight page. In Premiere Pro, use the Essential Sound panel.
Add background music: Keep it at 10-20% of your dialogue volume. Royalty-free libraries include Epidemic Sound, Artlist, and YouTube's Audio Library (free).
Add sound effects: Subtle whoosh sounds on transitions, click sounds on text appearances, and ambient noise fill gaps.
Step 6: Export Your Video
Export settings depend on where your video will be published:
For YouTube/Vimeo:
Format: MP4 (H.264 or H.265)
Resolution: 1920×1080 (1080p) or 3840×2160 (4K)
Frame rate: Match your source (typically 24fps, 30fps, or 60fps)
Bitrate: 10-15 Mbps for 1080p, 35-45 Mbps for 4K
For Instagram Reels / TikTok:
Resolution: 1080×1920 (vertical 9:16)
Duration: Under 90 seconds for optimal reach
Format: MP4
For LinkedIn / Twitter:
Resolution: 1920×1080 (landscape) or 1080×1080 (square)
Duration: Under 2 minutes for LinkedIn, under 2:20 for Twitter
File size: Under 512 MB for LinkedIn, under 512 MB for Twitter
How AI Is Changing Video Editing in 2026
AI tools have transformed video editing from a manual, time-intensive craft into something that can be partially or fully automated. Here is what AI can now do reliably:
What AI does well today:
Auto-captions/subtitles: 90-95% accurate in most languages
Silence/filler removal: Automatically detects and cuts "um", "uh", and dead air
Scene detection: Identifies scene changes and suggests cut points
Background removal: Replaces or removes video backgrounds in real-time
Color matching: Automatically matches color between clips from different cameras
Audio enhancement: Removes background noise, normalizes volume, separates voices from music
What AI still struggles with:
Creative storytelling decisions (what to include vs. cut)
Comedic timing and pacing
Complex multi-camera edits
Matching specific brand styles without detailed instructions
Fully automated AI editing with Sai:
For users who want to skip the learning curve entirely, Sai can handle the complete editing process through natural language instructions:
"Trim the first 30 seconds and last 10 seconds of this video"
"Add captions to this video in English and Spanish"
"Cut this 45-minute webinar into a 3-minute highlight reel"
"Remove all the pauses and filler words from my presentation"
"Add background music and fade transitions between sections"
Sai operates inside a secure Workspace with professional editing tools (FFmpeg, Whisper for transcription), so the output quality is production-grade. This approach is most valuable for repetitive editing tasks — batch processing multiple videos, regular content series, or reformatting long-form content into platform-specific clips.
Stop doing repetitive tasks. Let Sai handle them for you.
Sai is your AI computer use agent — it operates your apps, automates your workflows, and gets work done while you focus on what matters.


.svg)

.svg)